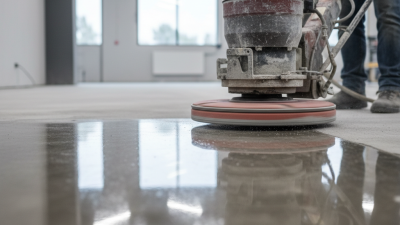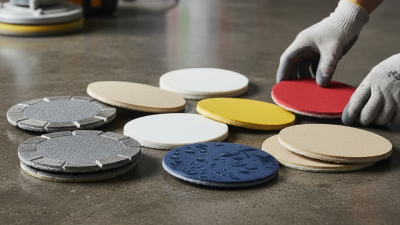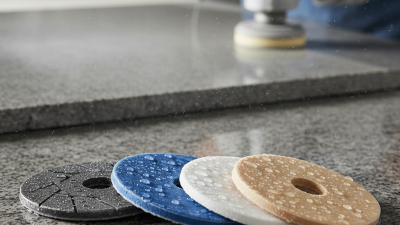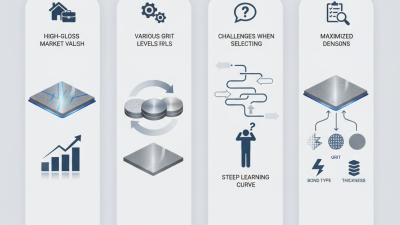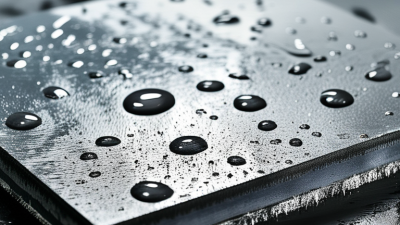


Choosing the right Concrete Polishing Resin Pads in 2026 requires more than comparing grit numbers or online prices. Pad performance depends on concrete hardness, surface moisture, aggregate exposure, machine speed, and the finish you want. A pad that works beautifully on a dense warehouse floor may leave uneven marks on softer residential concrete. Small differences matter.
This guide examines the practical factors professionals should evaluate before purchasing. It explains grit progression, bond hardness, pad diameter, segment design, cooling needs, and expected service life. It also considers newer resin technologies, dust-control systems, and manufacturer testing data. Reliable decisions should come from both technical specifications and controlled floor trials. Test first.
A useful selection process begins with the actual slab, not the product label. Check for scratches, exposed stones, old coatings, and damp areas. Then test one section with a coarse pad and inspect the cutting pattern under strong side lighting. That simple step can reveal loading, streaking, or uneven wear before the entire floor is affected. I have learned that theoretical recommendations sometimes fail on unpredictable concrete. Surface conditions change quickly.
The discussion also addresses cost per square meter, operator technique, and maintenance planning. The cheapest pad may wear faster or require extra passes. The most aggressive pad may create unnecessary surface damage. No single product fits every project. By combining manufacturer guidance, measured results, and careful observation, buyers can choose more confidently. Still, every recommendation deserves verification on site. Concrete remains less predictable than product charts suggest.
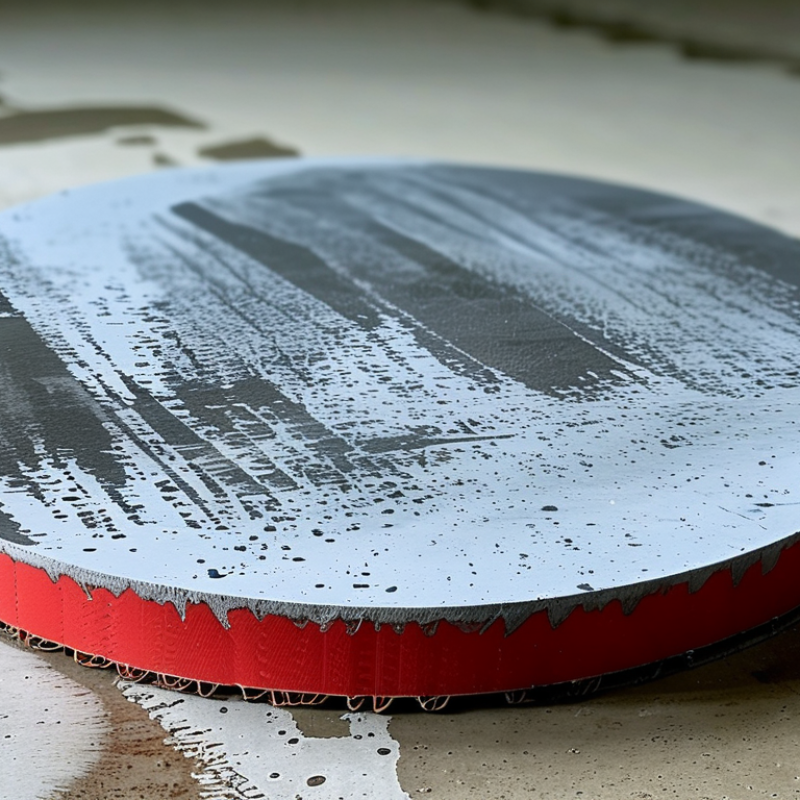
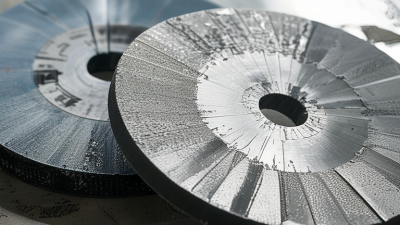
Resin pads are not interchangeable. Their bond hardness, grit range, segment shape, and backing design affect cutting speed and surface clarity. Soft concrete usually needs a harder resin bond. Otherwise, the diamonds may sink and stop cutting. Hard concrete often responds better to a softer bond. It exposes fresh diamonds more consistently.
Hybrid pads remove light scratches after metal tools. Standard resin pads refine the surface from roughly 50 to 3,000 grit.
Some floors need transitional pads between metal and resin stages. Others do not. That decision depends on aggregate exposure, surface moisture, and the remaining scratch pattern. A small test area remains essential.
The Global Concrete Floor Coatings Market report by Grand View Research projects continued market growth through 2030, reflecting wider demand for durable polished surfaces. However, market reports rarely separate resin pad sales from complete flooring systems. That limitation deserves attention. OSHA’s respirable crystalline silica standard sets a 50 μg/m³ eight-hour exposure limit, making dust control important during dry polishing. Wet-compatible pads can reduce airborne dust, but they create slurry and cleanup demands. In practice, I check pad wear after every pass, record the machine speed, and inspect the floor under angled light. A pad that looks clean may still leave circular trails. Tens of thousands of square feet can hide one poor grit choice.
Choosing a resin pad starts with the concrete, not the machine. Hard concrete usually needs a softer-bond resin pad. Its diamonds can cut instead of skating across the surface. Soft concrete often performs better with a harder-bond pad. This helps control rapid wear and unnecessary dust.
Check the floor before polishing. A simple scratch test can reveal whether the surface is soft, medium, or hard. Look for exposed aggregate, old coating marks, patch repairs, and uneven areas. A 30-grit resin pad may suit deeper scratches after metal grinding. A 50- or 100-grit pad can refine a flatter surface. Never assume one grit works everywhere.
Surface conditions can change the choice. Damp concrete may load the pad and reduce cutting speed. Dry polishing needs effective dust extraction and regular inspection. On edges, use lighter pressure because resin pads wear faster there. Watch the scratch pattern after each pass. If lines remain, changing to a finer grit will not solve the problem. Return to the earlier step.
Pad life depends on pressure, speed, water, and operator technique. I have seen aggressive settings shorten pad life without improving the finish. That mistake is easy to repeat. Test a small area first, then record the grit, speed, and result. A perfect selection chart does not exist. Concrete varies from room to room. Reliable polishing comes from measured adjustments, not guesses.
How to Choose Concrete Polishing Resin Pads in 2026?
Selecting the Right Grit Sequence for Each Polishing Stage
Choosing resin pads starts with the concrete, not the product label. Check hardness, aggregate exposure, moisture, and the scratches left by earlier tools. A soft slab may load pads quickly, while dense concrete can resist a fine polish. Test a small area first. It saves time.
After metal-bond tools, begin with a 50 or 100 grit transitional resin pad. Use 200 grit when the surface looks even and deep scratches have disappeared. Move through 400, 800, 1500, and 3000 grit when a higher sheen is required. Do not skip grits to save labor. Fine pads cannot reliably remove coarse scratches. Keep the machine moving, and clean the floor between stages.
Water can control heat and reduce dust, but it also hides surface defects. Dry polishing gives faster visual feedback, although dust management becomes critical. Inspect the floor under angled light after every pass. I once advanced too quickly from 200 to 800 grit. The floor looked smooth, but old circular scratches appeared after sealing. That mistake changed my inspection routine.
Pad pressure should match the concrete condition. Excessive pressure may create uneven wear and dark tracks. Light pressure often gives a more consistent finish. Replace a pad when its cutting action drops, even if its surface still looks usable. Record the grit, speed, moisture level, and pass count for each project. Small records improve repeatability. They also expose weak assumptions.
| Stage | Nominal Grit | Recommended Resin Pad Type | Primary Objective | Typical Surface Condition | Typical Machine Speed | Water / Dust Control | Move to the Next Grit When… |
|---|---|---|---|---|---|---|---|
| Preparation | 16–30 | Usually metal-bond diamond; resin pads are not normally used for this step. | Remove coatings, laitance, high spots, and major surface defects. | Paint, adhesive, severe scratches, unevenness, or heavy contamination. | Approximately 400–900 rpm, depending on equipment and tooling. | Dry grinding with suitable dust extraction is common; wet grinding may be used where slurry management is available. | The surface is uniformly opened and major defects are removed. |
| Initial Resin Refinement | 30–50 | Hard-bond resin pad for dense or hard concrete; medium-bond resin pad for average concrete. | Remove coarse metal-bond scratches and begin refining the scratch pattern. | Open, scratched surface after coarse grinding. | Approximately 500–900 rpm. | Wet or dry, provided the pad is rated for the selected method. | The previous coarse scratch pattern is no longer visible under consistent lighting. |
| Scratch Refinement | 60–80 | Medium-bond resin pad selected according to concrete hardness and aggregate exposure. | Refine visible scratches and even out the surface texture. | Uniformly ground surface with visible but smaller scratches. | Approximately 500–1,000 rpm. | Use controlled water flow for wet work; remove slurry frequently. | The surface has a consistent finish and no isolated deep scratches remain. |
| Intermediate Honing | 100–120 | Medium- or soft-bond resin pad; use a softer bond on hard concrete and a harder bond on soft, abrasive concrete. | Close the surface texture and reduce medium-depth scratches. | Even matte surface with limited scratch visibility. | Approximately 600–1,000 rpm. | Wet or dry; dry polishing requires effective dust extraction and temperature control. | The surface looks evenly honed without visible defects from the preceding grit. |
| Fine Honing | 200 | Medium-to-soft resin pad for balanced scratch removal and surface clarity. | Produce a smooth, low-sheen honed finish and prepare for polishing. | Smooth matte to lightly satin surface. | Approximately 700–1,100 rpm. | Use light, even water coverage for wet polishing; avoid flooding the working area. | The 100–120 grit pattern is fully removed and the surface is visually uniform. |
| First Polishing Pass | 400 | Soft-bond resin pad designed to conform to the surface and improve clarity. | Create the first noticeable sheen and remove fine honing marks. | Smooth surface with slight to moderate reflection. | Approximately 700–1,200 rpm. | Wet polishing is common; for dry work, use dust extraction and clean the floor before inspection. | The floor shows a consistent satin sheen with no remaining 200-grit scratches. |
| Gloss Development | 800 | Soft-bond, high-density resin pad for improved reflectivity and reduced haze. | Increase gloss, clarity, and visual uniformity. | Satin to semi-gloss finish. | Approximately 800–1,200 rpm. | Use a clean wet process or controlled dry process; prevent slurry or dust from drying on the floor. | The surface has an even semi-gloss appearance and no visible 400-grit marks. |
| High-Gloss Polishing | 1,500 | Very soft-bond resin pad or finishing pad, selected for the desired level of reflection. | Develop a high-gloss finish and improve image clarity. | Glossy surface with clear reflected light. | Approximately 900–1,500 rpm. | Often performed dry after the surface is clean and fully refined; follow the pad manufacturer's operating limits. | The required gloss level is reached and the surface is free of visible haze and swirl marks. |
| Ultra-Fine Finish | 3,000 or higher | Ultra-fine finishing pad for maximum clarity where the specification requires it. | Maximize reflectivity and produce a highly refined appearance. | Very high gloss with strong image reflection. | Approximately 1,000–1,500 rpm. | Normally a dry finishing operation on a clean, fully polished surface. | The specified appearance is achieved consistently across the entire floor. |
Pad selection should begin with durability, not price. A resin pad must survive heat, slurry, and uneven concrete without losing its cutting shape. Track square meters per set, rather than working hours. This gives a clearer comparison. A 2024 Grand View Research market analysis forecasts roughly 6% annual growth for concrete floor coatings through 2030, reflecting greater demand for consistent, low-maintenance finishes. That demand also raises quality expectations.
Finish quality depends on grit progression, resin hardness, and concrete density. Soft concrete can clog a hard-bond pad quickly. Dense concrete may need a more aggressive resin formula. I check the floor after each transition under side lighting. Scratches often appear later, especially around edges. Gloss readings can support visual inspection, but they cannot replace it. ASTM D523 offers a standardized gloss measurement method, although polished concrete is not a perfect laboratory surface. The practical result may be less predictable.
Tips: Test three small areas first. Record grit, water flow, machine speed, and square meters per hour. Choose the pad that removes scratches while keeping production steady. Wet polishing usually controls dust better; OSHA’s silica rule limits exposure to 50 micrograms per cubic meter over eight hours. Still, water can hide scratches and increase cleanup. I sometimes prefer a slower pass. It feels inefficient, but it prevents an expensive rework cycle. A durable pad is not always the fastest pad.
Checking Machine Compatibility, Maintenance Needs, and Project Costs
Machine compatibility should be checked before comparing pad prices. Confirm the grinder’s operating speed, plate diameter, attachment system, and power supply. A pad that fits physically may still perform poorly at high RPM. Check whether the equipment supports wet polishing, dry polishing, or both. Dust extraction also affects pad life and working speed.
Concrete hardness changes the choice. Softer floors often need a more open resin bond, while dense concrete may require a harder bond. On one project, I selected pads only by grit sequence and ignored the slab’s aggregate. The first passes clogged quickly. That mistake increased labor costs.
Maintenance is part of the budget. Rinse wet-use pads after each shift and remove slurry before it hardens. Dry-use pads need regular cleaning and controlled dust collection. Inspect the segments for uneven wear, heat marks, or loose attachments. Replace damaged pads early. Small failures become expensive repairs.
Estimate cost per square meter, not per pad. Include labor, water, vacuum filters, replacement frequency, and downtime. A cheaper pad may require more passes. Keep a simple test area, record actual coverage, and compare results after one shift. Estimates can be wrong. Field records are usually better.