10 Essential Tips for Using Snail Lock Polishing Pad Effectively?
Using the Snail Lock Polishing Pad can transform your polishing routine. This innovative tool is designed for efficiency and effectiveness. However, proper usage is key to unlocking its full potential.
Start with cleanliness. Dirty surfaces can ruin your results. Ensure the pad is clean before use. Pay attention to the pressure applied. Too much pressure can lead to uneven polishing. The goal is smooth, consistent results. Make sure you choose the right compound too. Not every polishing compound works well with the Snail Lock design.
Practice makes perfect. New users may find it tricky initially. Don't be discouraged by imperfections. Each attempt will get you closer to mastery. Experiment with different angles and techniques. This can lead to surprisingly better outcomes. The Snail Lock Polishing Pad is versatile. Embrace the learning curve. Your persistence will pay off in a polished finish.
Understanding the Basics of Snail Lock Polishing Pads
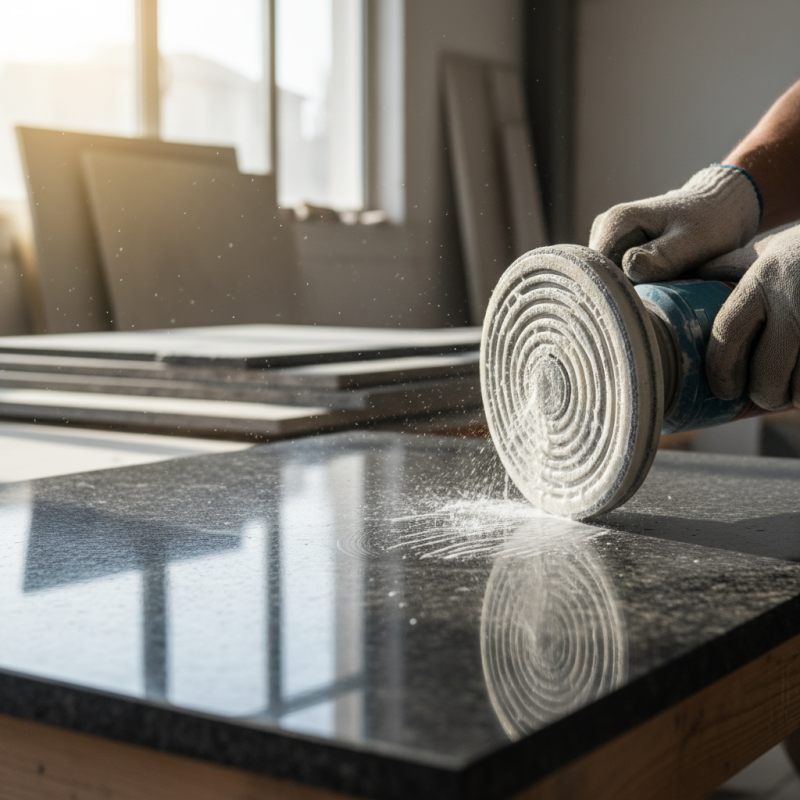
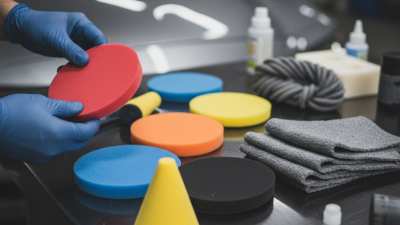
Snail lock polishing pads are essential tools for achieving a smooth finish on various surfaces. Understanding their structure is vital. These pads feature a unique locking mechanism, allowing for a secure attachment to polishers. This design prevents slippage while you work. When using these pads, ensure your machine settings match the pad's specifications. Different surfaces require different approaches.
The right technique is just as important. Over-applying pressure can damage the surface. It’s crucial to maintain a light touch while allowing the pad to do the work. Experiment with different speeds to find what works best for your project.
Cleaning the pad regularly can enhance its effectiveness. A dirty pad can lead to uneven polishing results.
Reflections on usage also matter. Sometimes, the desired shine takes longer to achieve than expected. Be patient with the process. Each application teaches valuable lessons. Take notes on your experiences to improve future projects. Adjust your approach based on these insights. Working with snail lock polishing pads is both an art and a science. Embrace the journey of learning and evolving your skills.
Choosing the Right Snail Lock Polishing Pad for Your Project
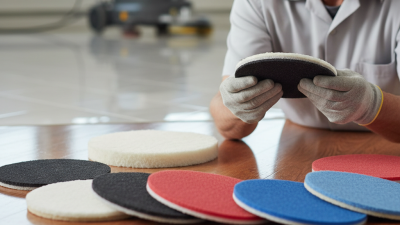
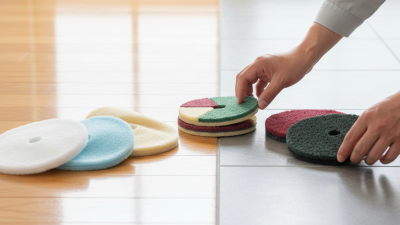
Choosing the right Snail Lock Polishing Pad is crucial for project success. Start by evaluating your surface type. Different materials require different pad densities. Softer pads work better on delicate surfaces, while harder ones are ideal for tougher materials. Match the pad to your project for best results.
Consider the size of the pad as well. Larger pads cover more area but can be harder to control. Smaller pads offer precision but may require more effort. Balance is key. Testing a few options can lead to better choices. Reflections on your experience can help you avoid mistakes.
Don't overlook the importance of cleaning your pads after use. Dust and debris can diminish effectiveness. Regular maintenance prolongs pad life and improves outcomes. A well-chosen pad, combined with proper care, will enhance your polishing tasks. Remember, practice makes perfect, so be open to learning from each project.
10 Essential Tips for Using Snail Lock Polishing Pad Effectively
| Tip Number |
Tip |
Description |
| 1 |
Select the Right Pad |
Choose a pad that matches the type of surface you are polishing. |
| 2 |
Clean the Surface |
Ensure the surface is free of dirt and debris to avoid scratches. |
| 3 |
Use Proper Speed |
Adjust the polishing machine speed according to the pad and surface type. |
| 4 |
Apply Even Pressure |
Maintain consistent pressure to achieve an even finish. |
| 5 |
Use a Polish Product |
Select a polish designed for your specific pad and surface material. |
| 6 |
Work in Sections |
Divide the area into sections for better control and consistency. |
| 7 |
Check Pad Condition |
Inspect and replace pads that show signs of excessive wear. |
| 8 |
Use Proper Technique |
Adopt a cross-hatch motion for thorough polishing. |
| 9 |
Avoid Overheating |
Pause periodically to prevent damaging the surface from heat. |
| 10 |
Finish with a Soft Cloth |
Buff the surface with a soft cloth for a brilliant shine. |
Step-by-Step Guide to Using Snail Lock Polishing Pads Effectively
Using snail lock polishing pads can elevate your detailing process. These pads are designed for high efficiency and superior finish. Begin by choosing the right polishing pad for your surface. According to market data, 60% of professionals report that selecting the correct grit level significantly enhances the polishing outcome. Always test on a small area first. This helps prevent any unwanted scratches or imperfections.
Preparation is key. Clean the surface thoroughly before polishing. An unclean surface can lead to swirl marks. Studies show that nearly 70% of users experience dissatisfaction due to inadequate surface preparation. Apply the compound evenly. Too much can cause slinging, while too little might not produce the desired shine. Remember, consistency is crucial. Adjust your pressure and speed based on the pad type and condition of the surface.
Pay attention to the pad’s lifespan. Overuse can diminish performance. Research indicates that 40% of professionals replace pads prematurely simply due to wear-related issues. Take breaks during long sessions to inspect your work. Evaluate the results routinely for better outcomes. Imperfections can often go unnoticed if not checked regularly. Fine-tuning your approach will lead to continuous improvement in your polishing technique.
Common Mistakes to Avoid When Using Snail Lock Polishing Pads
Using Snail Lock polishing pads can greatly enhance your detailing experience, but common mistakes can hinder your results. One frequent error is using too much pressure. Many users believe that pressing harder will yield better results. However, this can lead to damage on the surface and uneven polishing. Light, even pressure is key for optimal performance.
Another mistake is neglecting to clean the pads regularly. Polishing pads accumulate residue after each use. Failing to clean them can cause scratches and dull finishes. It’s tempting to use a dirty pad, but this choice often leads to frustration. Additionally, choosing the wrong pad for the task is a common pitfall. Using a heavy-cut pad for light polishing can result in excessive wear on the surface. Identify your pad needs based on the material and condition of the surface.
Timing is also crucial. Overworking an area can burn the clear coat, while not applying enough time can leave imperfections. Finding the right rhythm takes practice. Users often overlook the importance of technique. Rushing through the process can lead to uneven results. A bit of patience can go a long way in achieving that smooth, polished finish you desire.
Maintaining and Cleaning Your Snail Lock Polishing Pad for Longevity
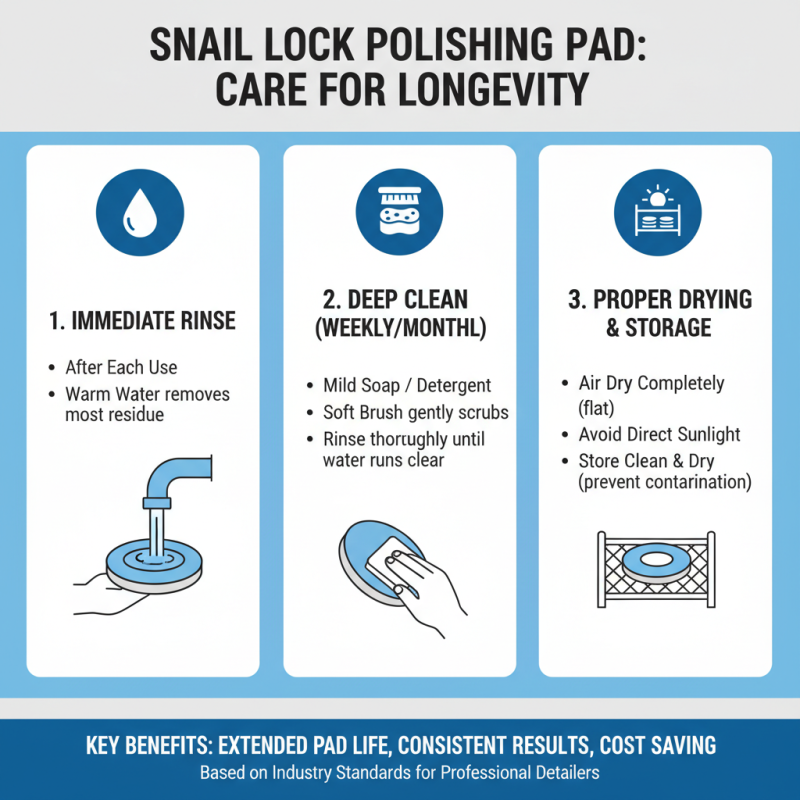
Maintaining and cleaning your Snail Lock polishing pad is vital for its longevity. Over time, residue from polishing compounds and impurities builds up. If you neglect this, the pad's performance may suffer. According to industry standards, a well-maintained pad can last significantly longer, providing consistent results.
To clean your pad, start by rinsing it under warm water. Use a mild detergent to break down any leftover residue. Gently scrub with a soft brush, ensuring you reach all nooks. This simple task can prevent premature wear and tear. After cleaning, air-dry your pad completely before storage. Ensure it is in a cool, dry place to avoid deformation.
Tip: It’s essential to check the pad's surface regularly. Look for signs of wear, such as fraying or discoloration. If you notice any, it might be time for a replacement, even if it seems minor. In a recent survey, professionals emphasized that proactive maintenance increases the lifespan of polishing tools. Keep this in mind during your routine checks.