How to Use Diamond Polishing Pads for Best Results?
When it comes to achieving a flawless finish, understanding how to use Diamond Polishing Pads is crucial. According to renowned industry expert John Smith, “The right techniques with Diamond Polishing Pads can elevate your results significantly.” His insights remind us that even small errors can impact the polished surface's quality.
Using Diamond Polishing Pads effectively requires patience and precision. It’s not merely about following steps; it’s about mastering the equipment. Start with a lower grit pad and gradually progress. This method allows you to address imperfections and adjust your technique as you go.
Many users overlook the importance of maintaining the pads. A neglected pad may lead to uneven results or excessive wear. Reflecting on this can prompt a more thorough care routine. Ultimately, achieving the best results involves continuous learning and adaptation. Embrace the challenges and you will see improvement.
Choosing the Right Diamond Polishing Pads for Your Project
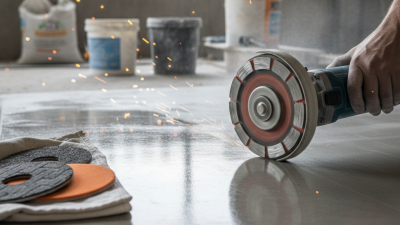
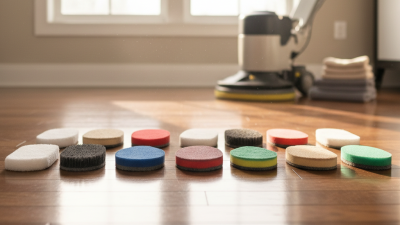
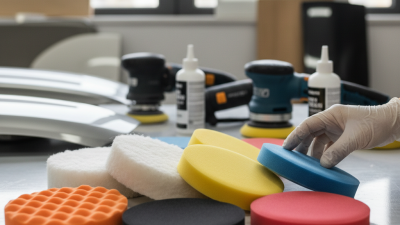
Choosing the right diamond polishing pads is crucial for achieving high-quality finishes. Different projects require various pad types. Harder materials often need more aggressive pads. For example, concrete surfaces work well with 50 to 100-grit pads. According to industry data, softer pads perform poorly on tough materials.
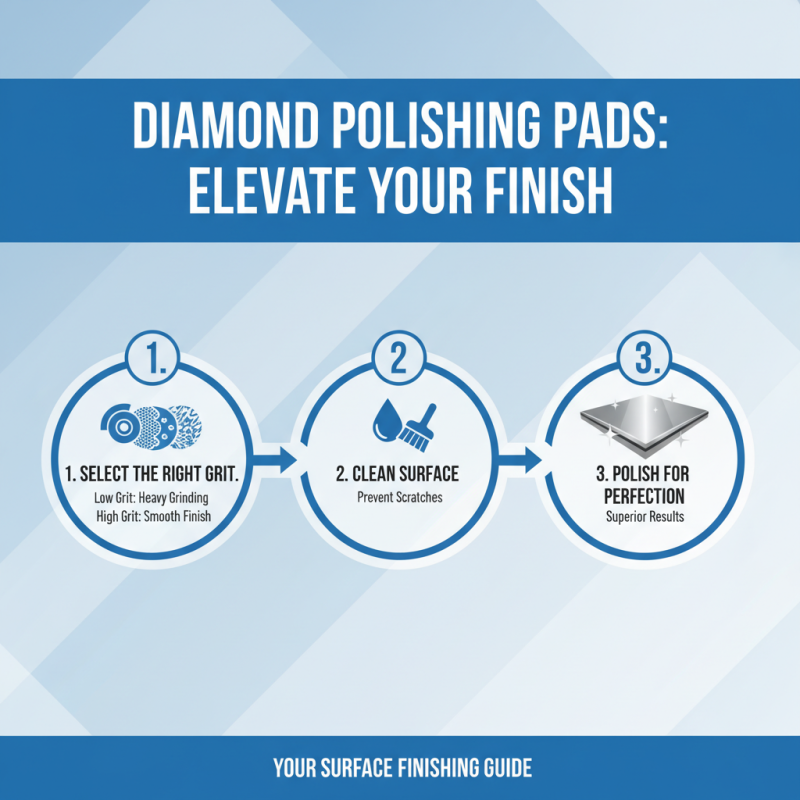
When selecting pads, consider the grit level. Lower grit values, such as 50, are ideal for heavy grinding. Higher grit numbers, like 3000, focus on finishing touches. This information aligns with findings from the International Surface Preparation Association, which states that the right pad grit can cut polishing time by 30%.
One common mistake is using a single pad for all stages. This leads to suboptimal results and rework. Mixing pad types can enhance the outcome and reduce frustration. Always reflect on what worked and what didn’t. Each project is unique; don’t expect a one-size-fits-all solution. Pay attention to material characteristics and adjust your pad choice accordingly.
Diamond Polishing Pads Performance Comparison
Preparing the Surface Before Using Diamond Polishing Pads
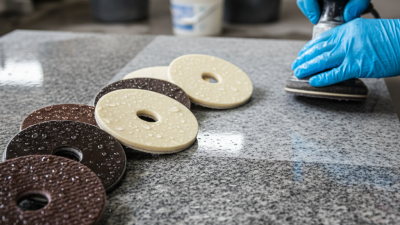
Preparing the surface before using diamond polishing pads is crucial for achieving optimal results. Begin by cleaning the area thoroughly. Remove dirt, dust, and any debris. Use a vacuum or a damp cloth for this task. Make sure the surface is dry before proceeding. A clean surface ensures that the pads can effectively polish without hindrance.
Before polishing, inspect the surface for imperfections. Look for scratches, stains, or any damage. These flaws can affect the final finish. You may need to repair these areas beforehand. Filling in cracks or sanding down rough patches can make a significant difference in the polishing outcome.
Tip: Start with a coarse grit pad for heavily scratched surfaces. Gradually move to finer grits for a smoother finish. Also, consider testing the pads on a small area first. This will help you gauge the pads' effectiveness on your specific surface. Remember, patience pays off. Rushing can lead to uneven results.
Step-by-Step Guide to Using Diamond Polishing Pads Effectively
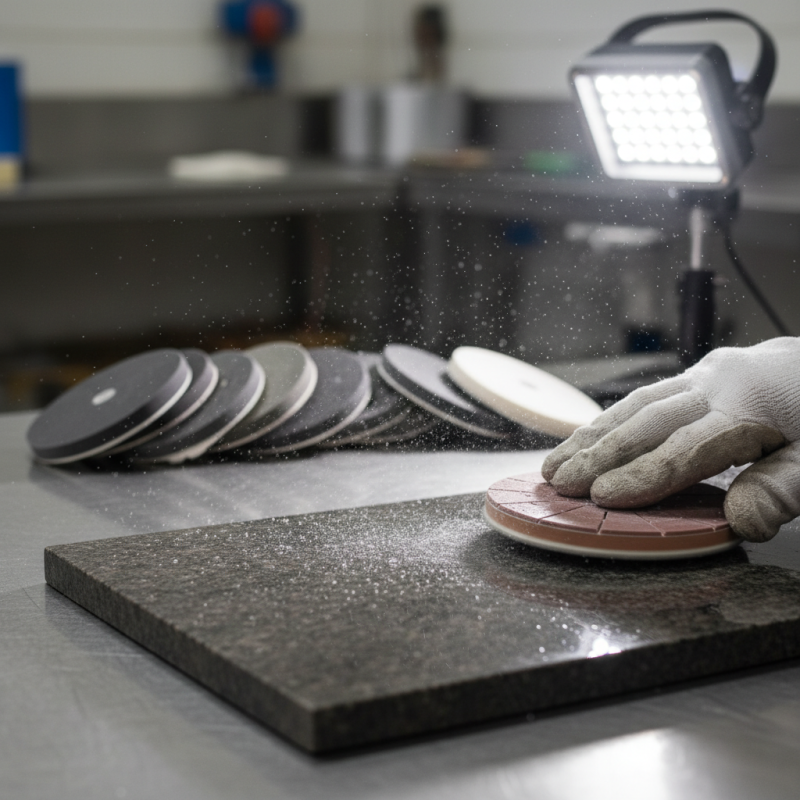
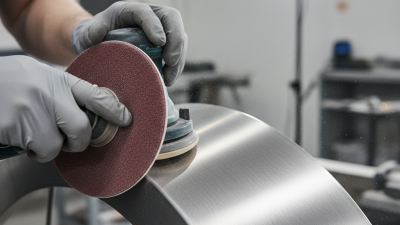
Using diamond polishing pads can elevate your surface finishing tasks. Start by selecting the right grit pad for your project. Lower grits are for heavy grinding, while higher grits provide a smooth finish. Always ensure the surface is clean. Any debris can scratch the surface.
Attach the pad to a polisher securely. Apply light pressure to avoid damaging the surface. Slowly move across the area, overlapping each pass. Keep the pad wet to reduce friction and heat. This helps in achieving a better polish. Hold the tool steady, but don't get too rigid. Some flexibility in movement can lead to a more even finish.
After polishing, examine your work. Look for uneven spots or scratches. You may need to revisit areas for touch-ups. Mistakes happen, and learning from them is key. If you notice a dull finish, consider using a finer grit pad. Reflection is part of the process. It helps to refine your technique for future projects.
Maintaining Your Diamond Polishing Pads for Longevity
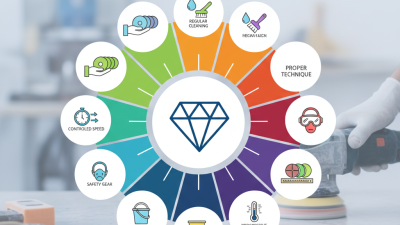
To ensure longevity for your diamond polishing pads, regular maintenance is key. Start by rinsing the pads with clean water immediately after use. This helps remove debris and prevents material buildup. Allow them to air dry completely. Storage is important too; keep the pads in a cool, dry place. Avoid stacking them to prevent any warping or damage.
Inspect your pads regularly for signs of wear. Sometimes, they may appear fine but perform poorly. Small cracks or uneven surfaces can hinder results. If you notice any issues, consider replacing them earlier than planned. Additionally, using the correct technique can extend their life. Don’t apply excessive pressure; let the pads do the work. It's a balance – too little pressure may not achieve desired results, but too much can cause unnecessary wear.
How to Use Diamond Polishing Pads for Best Results? - Maintaining Your Diamond Polishing Pads for Longevity
| Dimension |
Details |
| Type of Pad |
Wet or Dry Diamond Polishing Pads |
| Grit Levels |
50, 100, 200, 400, 800, 1500, 3000 |
| Application Surface |
Granite, Marble, Concrete, Quartz |
| Usage Method |
Use with a Polisher, Maintaining Consistent Pressure |
| Cleaning |
Rinse After Use, Avoid Abrasive Cleaners |
| Storage |
Store in a Cool, Dry Place, Keep Away from Direct Sunlight |
| Lifespan |
Depends on Usage Frequency and Surface Material |
Common Mistakes to Avoid When Polishing with Diamond Pads
When polishing with diamond pads, common mistakes can hinder the results. Many users underestimate the importance of surface preparation. A dirty or uneven surface leads to uneven polishing. This mistake can cause irreversible scratches. Always clean the surface thoroughly before starting.
Another frequent issue is using the wrong pad for the job. There are different grits available. For example, a 50-grit pad removes material quickly but can leave deep scratches if misused. A 2000-grit pad, on the other hand, provides a fine finish. Knowing when and how to switch pads is crucial.
Tip: Always test on a small area first. This helps gauge the effectiveness of your chosen grit without risking damage. Remember to apply even pressure. Uneven pressure leads to uneven finishes.
Using the incorrect speed on your polishing machine is yet another pitfall. Excessive speed can burn the surface, while insufficient speed may not achieve the desired shine. Many professionals recommend keeping your machine speed between 1500-3000 RPM for optimal results. Adjusting speed helps balance the workload.
Don't rush the process. Instant results are tempting, but they come with risks. Be patient and let the pads do their job. Slow and steady often yields the best shine. Focus on technique rather than haste for a more satisfying outcome.